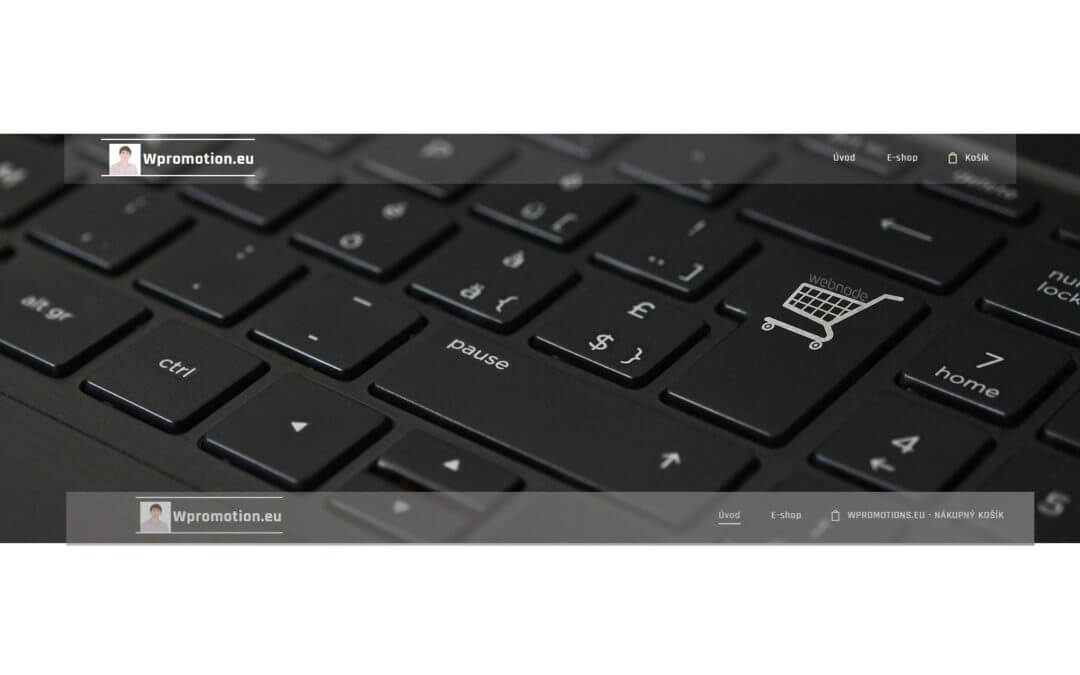
Would you like to rename the cart in the e-shop in Webnode from “CART” to “My Cart”?
With my simple tutorial, you will definitely be able to do it.
Just subscribe to my newsletter – William Promotions News – and get the pre-prepared code.
In the code, you can simply change the text to your own and you can name the cart as you want 🙂
After that insert the code on your website in Webnode and rename CART in the menu.
DEMO:
- Subscribe to my newsletter to get a code:
2. Edit the pre-prepared code – simply rewrite the name “My Cart” in the code to your own cart name.
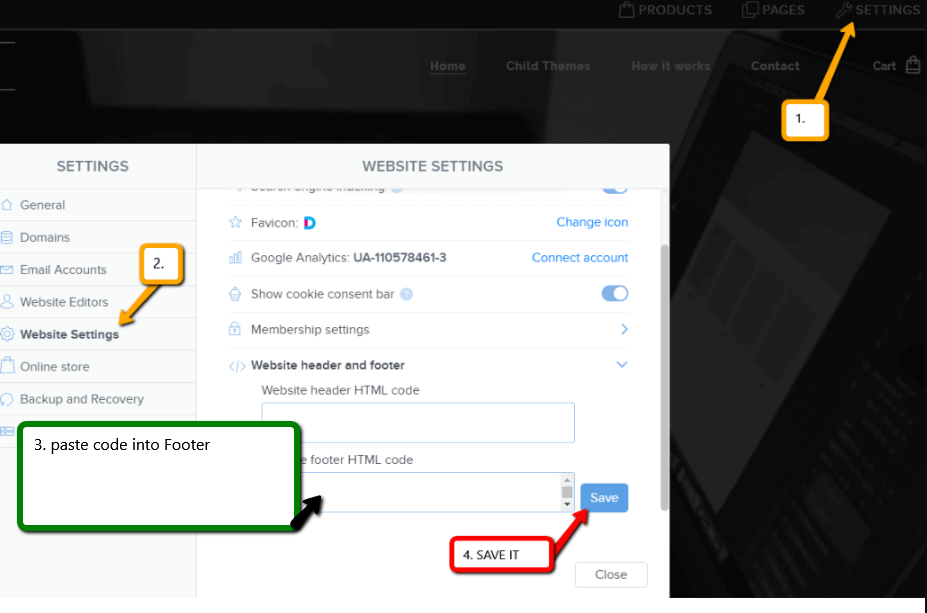
3. Paste the modified code in the footer of your WEBNODE e-shop
If you have purchased Standard or Profi Premium Services from Webnode, you can paste the code into all pages of the website with a single click.
At the top of the editor, click “Settings” – “Website Settings” – “HTML Header / Footer” – “HTML Footer“.
You’re done – in the published version of your e-shop -, the cart in menu will appear under its new name! 🙂
YOU ARE DONE – You have successfully renamed your cart in the e-shop from Webnode.
I hope you have succeeded and I look forward to your feedback in the comments.
Thank you for subscribing and good luck and lot of success in online business 🙂
PS: Don’t forget to subscribe to my Facebook and YouTube for more great tutorials, tips and tricks
More awesome tutorials
How to Add remarketing (retargeting) code in Webnode?
How to set up remarketing on Webnode? and Where should you insert the remarketing code? In tutorial How to add a conversion code in Webnode? I've shown you an easy way to insert your conversion tracking conversion code. Let's now take a look at another PPC...
How to add a poll in Webnode?
Do you want to add a poll on a Webnode website?The free online questionnaire (web survey/poll) is one of the most common ways to get feedback from your website visitors. Without feedback, it is difficult to say whether you are acting correctly on your customers and...
How to Add GIF Images in Webnode?
Would you like to embed a GIF image on a Webnode site? Webnode editor does not allow .gif format when you embed them as an image. For this reason, you must first upload the desired .GIF image to an external service to get the image URL. Paste the URL into the code and...
How to Set up Email Marketing in Webnode via MailChimp?
Are u looking for a simple email marketing solution in Webnode? Do you want to put a pop-up on your website to collect emails from your visitors? Send news to your customers through the automated MailChimp system. It's free for up to 2,000 subscribers and 12,000...
How to connect Facebook Messenger (FB online chat for free) with Webnode?
Do you want to link Facebook messenger to a Webnode website and get online chat for free? Simple tutorial - Webnode with Facebook Messenger Facebook Messenger is a great choice for communicating with your website visitors. You can connect FB messenger with Webnode...
How to set up a Gmail mail client with Webnode email?
Do you want to connect your email with Webnode with Gmail.com and set up Gmail as a mail client? Send&Receive messages from Webnode to Gmail. In tutorial How To Create A Professional Email Signature? Simply and FREE i show you very nice way how to...
How to record activity of visitors on your website with SmartLook?
Do you want to understand your client's behavior on your website? SmartLook will definitely help you. What is "Smartlook"? Smartlook is an online application for recording the mouse movement of visitors on your website or eshop, helping you to discover...
How to create your own map? (pins on the map)?
Do you want to add a map with your own points in Webnode? Create free own map with Google My Maps. In How To Set Up Google Map Properly in Webnode? I showed you how to insert a map from a classic Google My Maps service. In this tutorial, I will show you...
How to set redirection to external URL from a bookmark in the menu on Webnode?
Are you looking for a way to set redirect from Menu in Webnode to a different website (by clicking on the menu item) ? Let's do it! 🙂 1. Create a New Page in Menu. 2. Edit the code below as follows: You can adjust the value of line...
Do you like this tutorial? Share it, please 🙂
- How to add notification pop-up widget in Webnode? FREE! - 21.11.2023
- How to add Google Reviews in Webnode? - 5.11.2023
- Age Verification Pop-Up in WEBNODE: Enhance Website Safety - 24.7.2023


