Do you need to change the email in the contact form in Webnode?
The email in the Webnode contact form is pre-set to the email you use to log in to Webnode.
If you want to change the email in the contact form, follow these instructions:
1. Login to the Webnode editor and click on the “Send” button on the contact form.

How to change an email in contact form in Webnode
2. Then click on “Contact email” and enter a new email.

How to change an email in contact form in Webnode
3. Confirm the change by pressing ENTER.

How to change an email in contact form in Webnode
Well done! You have successfully changed the email in the contact form.
Email must be changed for each form on the web separately.
TIP: Add the Instagram and Facebook icon to the top left corner of the Webnode website. Read More in the tutorial: How to add a social network icons (FB and Instagram) to the top of the Webnode website?
TIP: Put online chat on the web for faster communication with visitors to your site. I recommend a service that is free – read more in tutorial for Smartsupp
More awesome tutorials
Webnode Discount Code 2026 – Get 15% Off the Premium Plan Today
Webnode Discount Code 2026: Get an Extra 15% Off Premium Plans Are you already using Webnode, or are you just thinking about creating your website? We have an up-to-date Webnode discount code that gives you 15% off selected Premium plans. This limited-time...

Webnode Review: How to create a website/e-shop for free (Webnode review 2025 +SEO TIPS)
Have you ever wanted to create your own website from scratch? Do you want to create a website or e-shop and make it visible on the Internet? Get started right now and learn how to easily create your first custom website.Creating a website with Webnode is so simple...
How to add spinning wheel to a website?
Spinning Wheel / Wheel of Fortune Spinning Wheel - Free VS Premium Spinning Wheel - Templates TUTORIAL: How to Add Spinning Wheel to a Website in Webnode? A Few Words at the End Spinning Wheel - FAQSpinning Wheel/ Wheel of FortuneIn previous articles, we explained How...
How to add an event calendar to a website?
Event Calendar Event Calendar Widget - Free VS Premium Event Calendar Templates TUTORIAL: How to Add an Event Calendar to a Website? Event Calendar- Preview A Few Words at the End Event Calender - FAQEvent CalendarIn previous articles we focused on How to add number...
How to create a website for free in 6 steps?
Websites for Free Free Websites – Templates Who are Free Websites Suitable for? Websites for Free & Own Domain Free Websites - 5 Proven Tips to Get Started TUTORIAL: How to Create a Website for Free in 6 Steps? A Few Words at the End Websites for Free -...
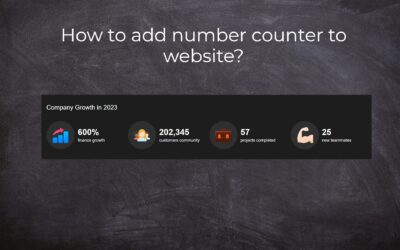
How to add number counter to website?
Animated Number Counter Number Counter - free VS premium Number Counter - templates TUTORIAL: How to add Number Counter to website? Number Counter - preview A few words at the end Number Counter - FAQAnimated Number CounterIn previous articles, we wrote How to link...
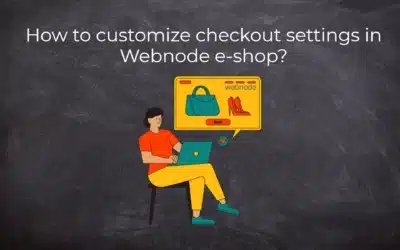
How to customize checkout settings in Webnode e-shop?
Buying process and Webnode e-shop What is the buying process? What can be customized/set up for checkout settings in Webnode e-shop? TUTORIAL: How to customize the checkout settings in Webnode e-shop? A few words at the end Checkout settings – FAQ Buying process...

How to create a kennel website?
Kennel website - introduction Kennel website - benefits Kennel website - must-haves Kennel website - pricing Kennel website - Webnode templates TUTORIAL: How to create a kennel website? A few words at the end Kennel website - FAQKennel website - introductionIn...
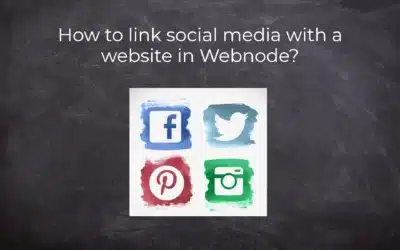
How to link social media with a website in Webnode?
Social Media & Webnode Social Feed widget - free VS premium Social Feed widget - templates TUTORIAL: How to link social media with a website? Social Feed widget - preview A few words at the end Social Feed widget - FAQSocial Media & WebnodeIn the latest...
Do you like this tutorial? Share it, please 🙂